When it comes to adding visual feedback to your projects, a 128×128 display can be a game-changer. These compact, square screens offer a delightful balance between resolution and size, making them perfect for a wide range of applications, from wearable tech to home automation. In this blog, we’ll delve into the features, applications, and how to get started with a 128×128 display.
Why Choose a 128×128 Display?
- Compact Size: With dimensions that fit comfortably in most projects, a 128×128 display is small enough for compact devices yet large enough to provide clear, readable graphics.
- Adequate Resolution: The 128×128 pixel resolution offers enough detail for simple graphics, icons, and text, making it versatile for various uses.
- Low Power Consumption: Ideal for battery-operated devices, these displays often consume less power compared to larger screens.
- Cost-Effective: These displays are generally affordable, making them accessible for hobbyists and professionals alike.
Common Types of 128×128 Displays
There are several types of 128×128 displays you might encounter, each with its own advantages:
- OLED: Organic Light-Emitting Diode displays offer vibrant colors and deep blacks. They are energy-efficient and provide a wide viewing angle.
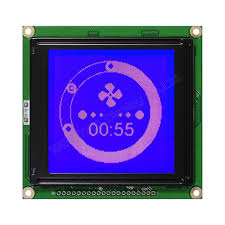
- LCD: Liquid Crystal Displays are more common and generally cheaper. They offer decent image quality but might consume more power compared to OLEDs.
- TFT: Thin-Film Transistor displays provide good color reproduction and refresh rates, suitable for dynamic content.
Applications of 128×128 Displays
The versatility of 128×128 displays opens up a plethora of applications:
- Wearable Devices: Perfect for smartwatches and fitness trackers, providing just enough information without overwhelming the user.
- Home Automation: Use these displays in smart home devices to show status updates, control interfaces, or notifications.
- Portable Electronics: Integrate them into handheld gaming devices, MP3 players, or even custom remote controls.
- Prototyping and Development: Ideal for displaying sensor data, system status, or debugging information in embedded systems.
Getting Started with 128×128 Displays
Hardware Setup
- Choose Your Display: Depending on your needs, select an OLED, LCD, or TFT display. Ensure compatibility with your microcontroller.
- Connect the Display: Typically, these displays connect via SPI (Serial Peripheral Interface) or I2C (Inter-Integrated Circuit). Refer to the datasheet for pin configuration and wiring instructions.